
Steaming milk on the surface may seem quite simple. You know, like just plunge in the mixer. Swirl it around. And boom, you have your creamy, foamy latte.
Wrong. It’s dead hard. It requires some level of finesses, science, and art combined to make those barista-esque level silky, warm cup of joe with your home milk steamer.
Ok, that might be a bit exaggerated. But the thing is, brewing an excellent cup of goodness with all the creamy, smoothly textured coffee requires some skill.
You don’t just dip the mixer deep into the milk if you want to make a latte or barely place the tip of the mixer in the milk if what you want is a cappuccino.
So, how do you steam milk properly?
First, it is vital to keep in mind that steaming involves two phases: The aeration stage and the emulsification phase.
Aeration is trapping air while emulsification is a reaction between the trapped air and milk.
That said, to aerate, place the mixer – steam wand tip in the milk and turn on. As the wand swirls, it draws in air from the surface into the milk. The amount of air you draw in depends primarily on whether you are making a latte or a cappuccino.
To emulsify, toss the steam wand deeper into the milk to further stir and thoroughly mix both the air and milk together. At this stage, you should start seeing the frothy milk or in barista-speak microform rise at the top of the milk.
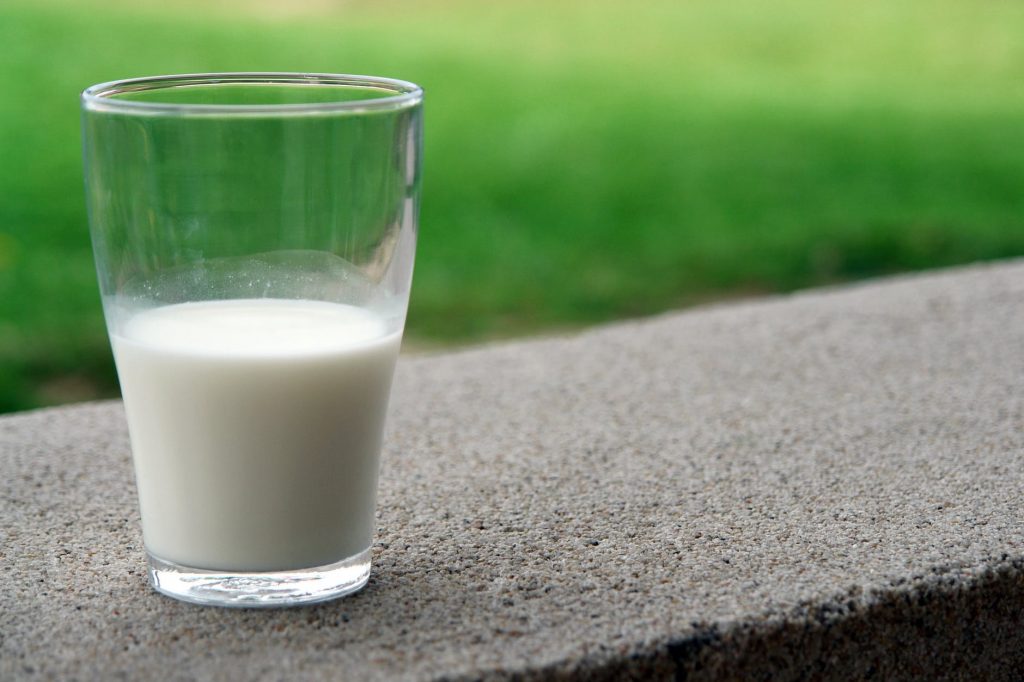
What kind of milk works best for steaming?
Go for the freshest milk you can find. The fresher the milk, the better it is, and more vibrant the flavor.
The thing is, as milk ages, it becomes increasingly hard to foam. Sure, it might still be excellent for making chocolate milk, to bake, and even to eat cereal with; but it will never give you the foamy, creamy results you want with your coffee.
It behaves just as much as your coffee would – the fresher your coffee is, the richer and variant its texture and flavor.
Remember also that the milk’s fat content plays a crucial role in which flavor gets unlocked or not. If you prefer a lot of foam, get skimmed milk. The higher protein content traps more air bubbles, which creates the micro-foam.
Whole milk is good if you’re looking for a creamier texture. Sure, it will still give you loads of foams.
Four steps approach to steaming the best milk ever
Step 1: Fill your milk pitcher
Pour cold fresh milk to roughly half full of the pitcher. Use a metal milk jug as it would allow you to gauge the temperature rise.
Step 2: Stretch the milk
Turn on your steam wand and let it swirl for a few seconds. You’re trying to aerate the milk; a process also called stretching by baristas. You should notice large bubbles forming and the milk rising. Wait till the milk volume as increased up to 50 percent.
Step 3: Texture the milk
Once, you notice the milk volume has increased up to 50 percent of the pitcher, plunge the tip of the steam wand deeper into the milk. This is the emulsification stage, also called texturing by baristas.
Keep at it until you notice the popping sounds of the bubbles stop and the milk start spinning. At this stage, you don’t want the milk to keep rising. If you notice the volume rise any higher, turn down the steam level.
Step 4: Turn off steam and pour
Check if the milk has reached your preferred temperature; then turn off of the steam valve.
Swirl the milk to remove air bubbles. Pour yourself a shot and then make some art. It might take you some practice to make pretty latte art.